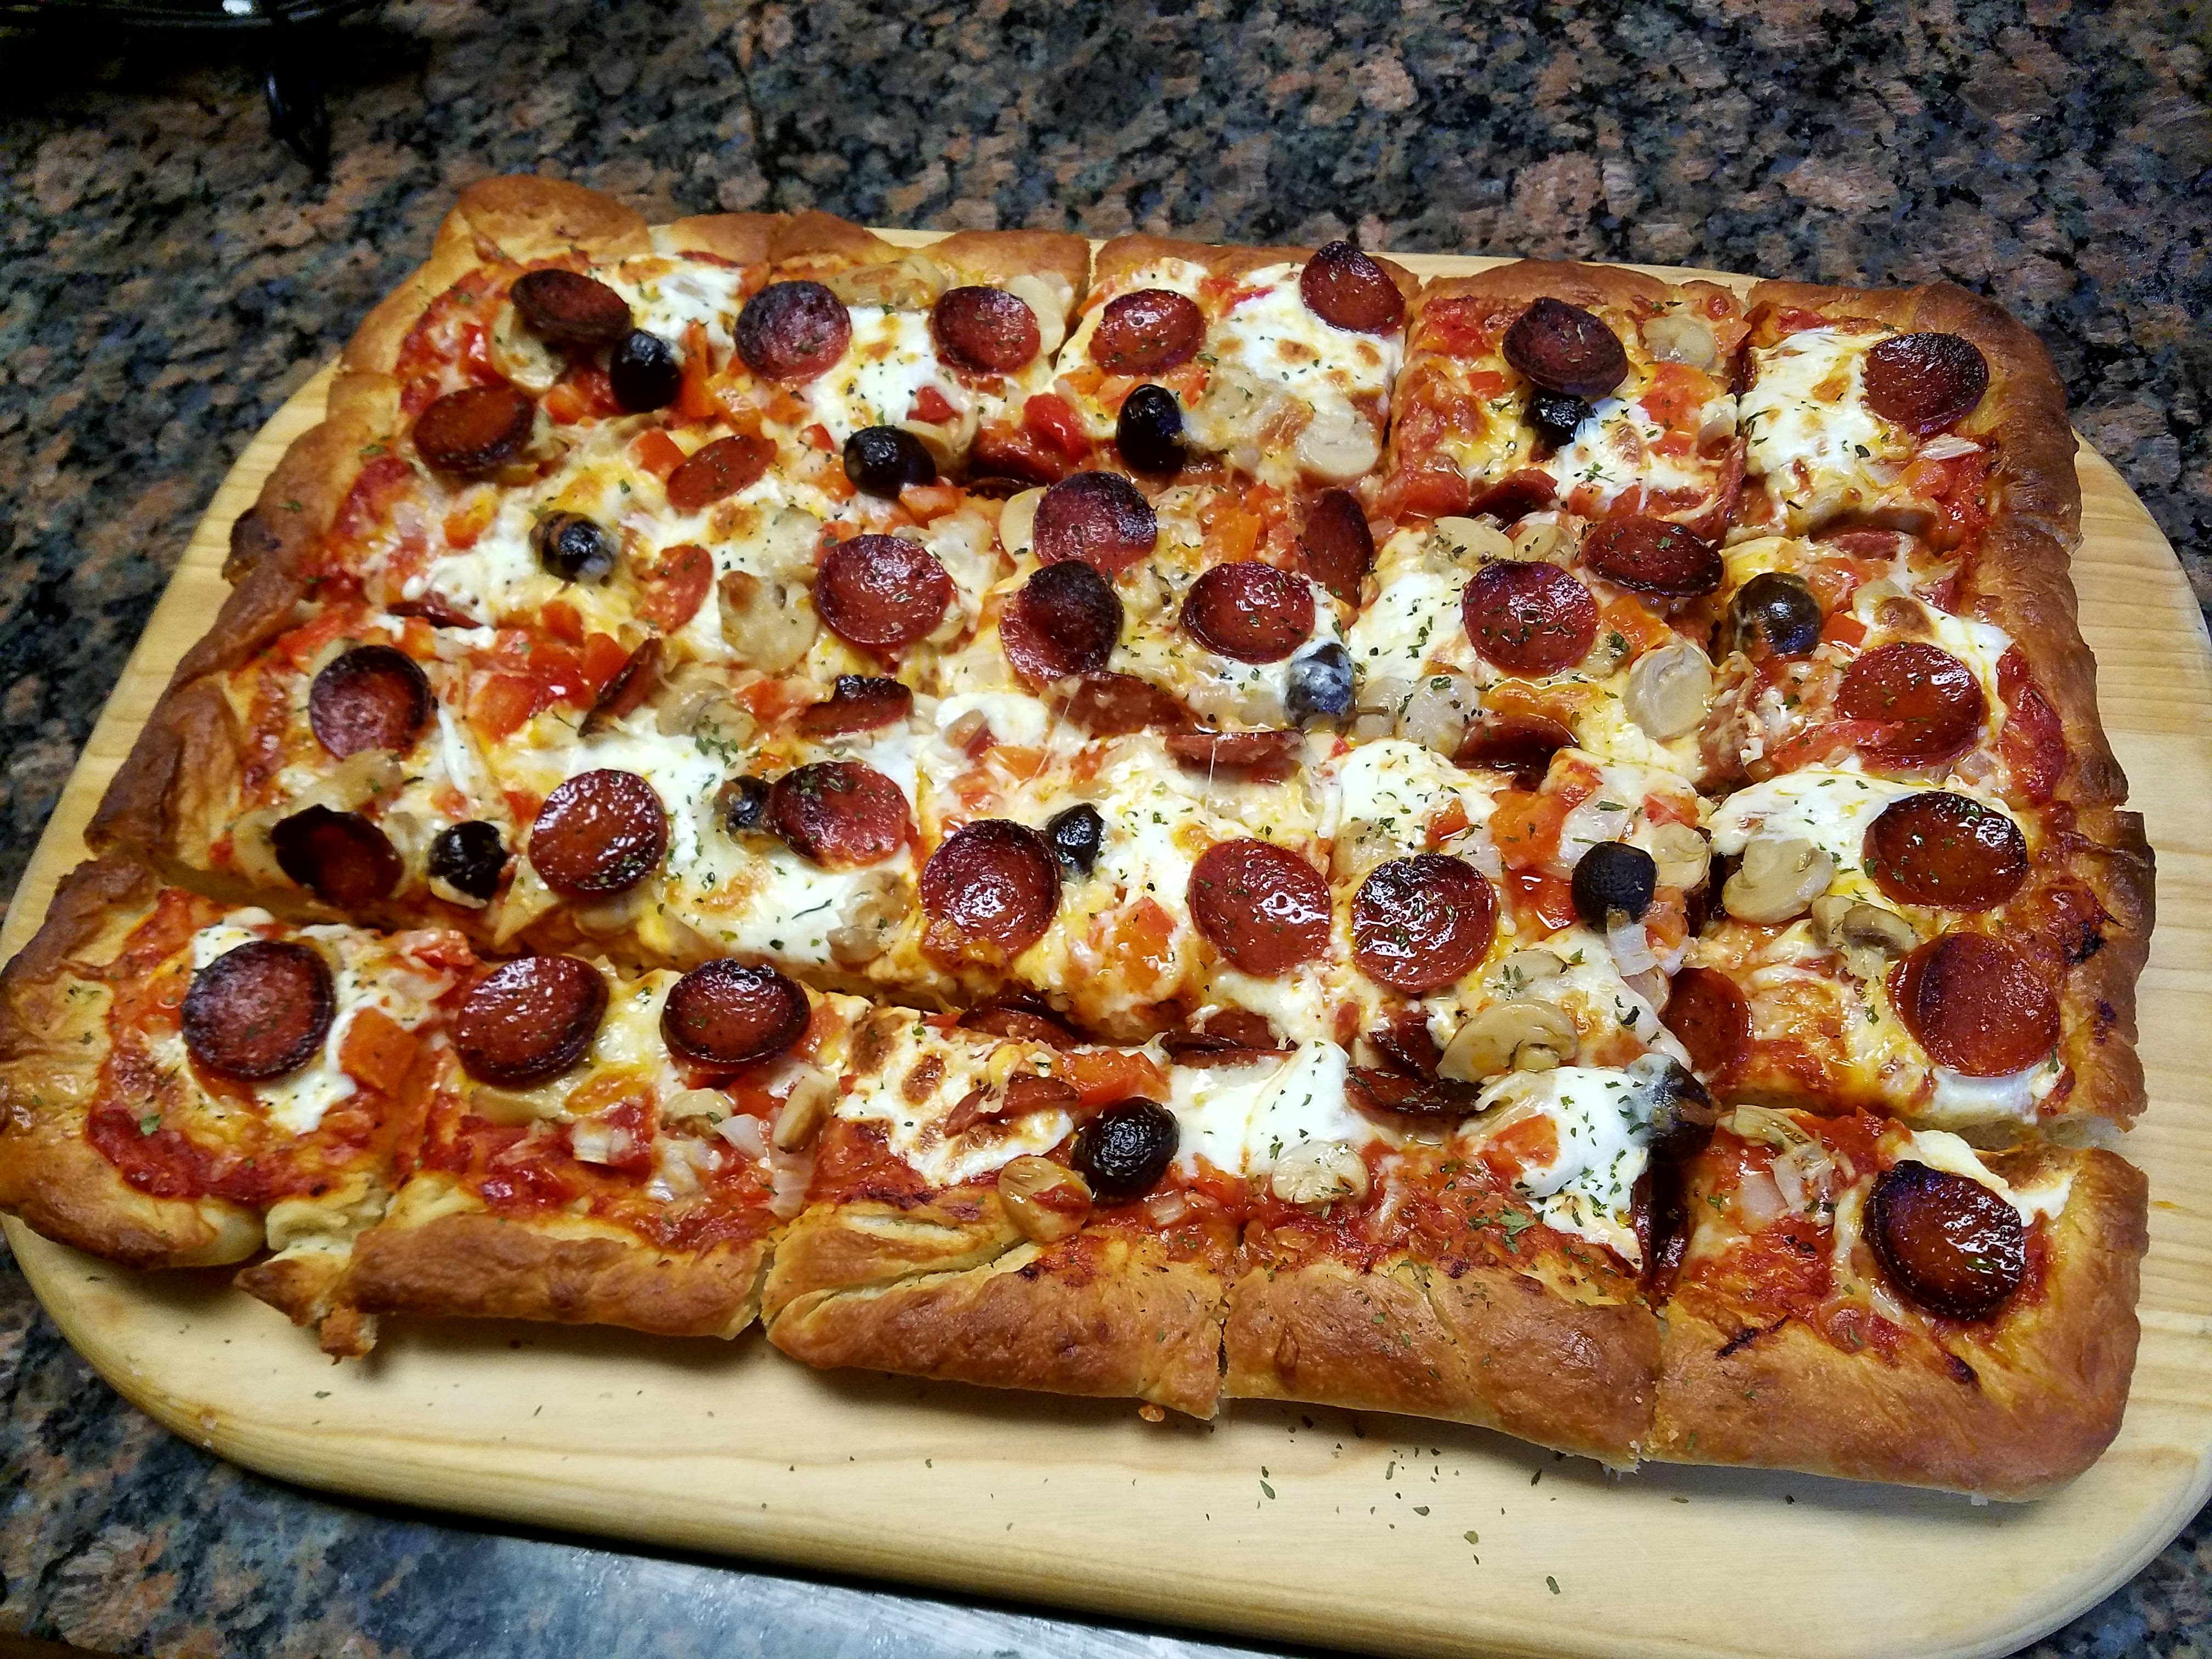
This pizza, made on a sheet pan, is ideal for a larger crowd. It's sometimes called Detroit style pizza. It makes 20 good-sized square pieces (when cut 4 columns by 5 rows). Better yet, you can make several of them and prep them ahead of time so you can really feed a big group.

This recipe makes a classic half sheet pan, which measures 18 x 13 inches. You'll also need a plastic container, ideally rectangular so that the dough develops into a shape roughly similar to the sheet pan, a stand mixer to make it easier on your arms, a temperature probe and a large fork or dough docker.
Ingredients
680g (6 cups) all-Purpose Flour
455g (2 cups) warm water (110F degrees)
4g (1 1/4 teaspoon) instant active yeast
14g (1 tablespoon) salt
42g (2 tablespoons plus 1 teaspoon) honey
60g (1/4 cup) olive oil
Instructions
Combine flour and warm water in the bowl of a mixer fitted with a dough hook. Mix until thoroughly incorporated and no dry flour remains. Remove bowl from mixer and cover to prevent a skin from forming and allow to rest for 30 minutes.
Combine the olive oil and honey in a small container that easily pours. Lightly spray a rectangular container with food release or olive oil.
Return the mixing bowl to the mixer fitted with the dough hook and add the yeast and salt. Mix on slow speed for 2 minutes, or until the ingredients are incorporated. Increase the speed to medium and mix for 2 minutes. Stop occasionally while mixing to scrape dough off the hook and and insure there is nothing stuck to the sides and bottom.
Continue mixing on medium speed and very slowly pour a small amount of the olive oil and honey mixture into the dough. It is important to allow each addition to incorporate before adding more. Remove the dough to a lightly floured surface. It should now be approximately 75F degrees when measured with an instant read thermometer.
Shape the dough by folding it over onto itself from the top and sides, forming a and place in prepared container. Cover and let rise for 1 hour. Turn the dough out onto a lightly floured work surface and fold it over on itself once again in both directions returning it to a rectangular shape. Return to container and cover for an additional hour. (In total, it should rest and rise for 2 hours)
Place the dough in the refrigerator overnight. If holding the dough longer than 24 hours, check it daily (for up to 3 days) and punch it down as needed to keep it from pushing the lid off of the container.
When ready to make the crust, remove the dough from refrigerator. There is no need to let it come to room temperature before proceeding. Pour 1/8 cup olive oil into a half sheet pan (13 x 18 inches.) Place the oiled sheet pan in front of the work surface on which you will prepare the dough, so that you can see it and use it as a size guide as you shape the crust.
Open the container and loosen the dough around the edge and turn it onto a lightly floured work surface. Lightly flour the surface of the dough and your hands to avoid stickiness. With an open hand, gently press dough into a rectangle approximately the size of your sheet pan. You can also lift the dough by the edges and let gravity assist you. Attempt to make the dough an even thickness. Using a fork or dough docker, poke holes into the dough particular any areas that seem to have gas bubbles.
Gently lift dough into pan and press out until the dough fills the pan and its corners. With your fingertips, form an edge around the dough. Poke holes in the dough all over using a fork or a dough docker. Brush the top lightly with olive oil, cover with a clean cloth and allow to rest for 90 minutes.
Preheat the oven to 450F degrees with a pizza steel or stone in place if you have one. Place the pan on the heated pizza stone/steel and bake for 7-10 minutes until there is some color visible on top. Remove from oven. At this point, the parbaked crust can be held until you are ready to make the final pizza. Keep it covered if you won’t make the pizza for more than 4 hours.
When ready to make the pizza, top the parbaked crust with your choice of ingredients. For a classic pizza, top with pizza sauce leaving a small edge all the way around, topped with your choice of cheeses, pepperoni or pre-cooked sausage, mushrooms, onions and olives. As noted in my classic recipe, if you want cupped pepperoni with browned edges, hand cut the pepperoni and place it on the very top for baking.
Bake at 450F degrees for approximately 20-25 minutes, until your toppings are done.
When the pizza toppings are done, remove from the oven and let cool for 15 minutes on a rack or the cool grates of your cook top. Then slide the pizza out of the pan and onto a cutting surface by slipping a knife or fork under the crust on the short edge of the pan. It should easily slide out. Brush the edge of the dough lightly with olive oil.
Cut the pizza, ideally with a sharp pizza knife and not with a small pizza wheel.
If you've tried my recipe for homemade pizza with pepperoni cups, you know that a good pizza crust takes time to develop flavor. That recipe calls for a three day retard in the refrigerator. Here too I retard the dough, but just overnight. Unlike that recipe, this is a compound dough meaning we are adding ingredients to the dough for more flavor. You can of course, let it rest in the refrigerator for an additional day or two if you need to.
 |
| Ready for the Oven |
This is a a relatively thick pizza dough that was common in kitchens throughout the American Midwest when I was growing up. Most every mother and grandmother seemed to know how to make them. Unlike mom, I have a baking steel and use it for this pizza as well as my classic pizza, as it helps to transfer heat to the bottom of the pizza increasing the browning. If you have one, or if you have a pizza stone, use it as noted. If not, it will still make a good pizza.
 |
| Dough docker helps to reduce puffing while baking. |
This recipe makes a classic half sheet pan, which measures 18 x 13 inches. You'll also need a plastic container, ideally rectangular so that the dough develops into a shape roughly similar to the sheet pan, a stand mixer to make it easier on your arms, a temperature probe and a large fork or dough docker.
Ingredients
680g (6 cups) all-Purpose Flour
455g (2 cups) warm water (110F degrees)
4g (1 1/4 teaspoon) instant active yeast
14g (1 tablespoon) salt
42g (2 tablespoons plus 1 teaspoon) honey
60g (1/4 cup) olive oil
Instructions
Combine flour and warm water in the bowl of a mixer fitted with a dough hook. Mix until thoroughly incorporated and no dry flour remains. Remove bowl from mixer and cover to prevent a skin from forming and allow to rest for 30 minutes.
Combine the olive oil and honey in a small container that easily pours. Lightly spray a rectangular container with food release or olive oil.
Return the mixing bowl to the mixer fitted with the dough hook and add the yeast and salt. Mix on slow speed for 2 minutes, or until the ingredients are incorporated. Increase the speed to medium and mix for 2 minutes. Stop occasionally while mixing to scrape dough off the hook and and insure there is nothing stuck to the sides and bottom.
Continue mixing on medium speed and very slowly pour a small amount of the olive oil and honey mixture into the dough. It is important to allow each addition to incorporate before adding more. Remove the dough to a lightly floured surface. It should now be approximately 75F degrees when measured with an instant read thermometer.
Shape the dough by folding it over onto itself from the top and sides, forming a and place in prepared container. Cover and let rise for 1 hour. Turn the dough out onto a lightly floured work surface and fold it over on itself once again in both directions returning it to a rectangular shape. Return to container and cover for an additional hour. (In total, it should rest and rise for 2 hours)
Place the dough in the refrigerator overnight. If holding the dough longer than 24 hours, check it daily (for up to 3 days) and punch it down as needed to keep it from pushing the lid off of the container.
When ready to make the crust, remove the dough from refrigerator. There is no need to let it come to room temperature before proceeding. Pour 1/8 cup olive oil into a half sheet pan (13 x 18 inches.) Place the oiled sheet pan in front of the work surface on which you will prepare the dough, so that you can see it and use it as a size guide as you shape the crust.
Open the container and loosen the dough around the edge and turn it onto a lightly floured work surface. Lightly flour the surface of the dough and your hands to avoid stickiness. With an open hand, gently press dough into a rectangle approximately the size of your sheet pan. You can also lift the dough by the edges and let gravity assist you. Attempt to make the dough an even thickness. Using a fork or dough docker, poke holes into the dough particular any areas that seem to have gas bubbles.
Gently lift dough into pan and press out until the dough fills the pan and its corners. With your fingertips, form an edge around the dough. Poke holes in the dough all over using a fork or a dough docker. Brush the top lightly with olive oil, cover with a clean cloth and allow to rest for 90 minutes.
Preheat the oven to 450F degrees with a pizza steel or stone in place if you have one. Place the pan on the heated pizza stone/steel and bake for 7-10 minutes until there is some color visible on top. Remove from oven. At this point, the parbaked crust can be held until you are ready to make the final pizza. Keep it covered if you won’t make the pizza for more than 4 hours.
When ready to make the pizza, top the parbaked crust with your choice of ingredients. For a classic pizza, top with pizza sauce leaving a small edge all the way around, topped with your choice of cheeses, pepperoni or pre-cooked sausage, mushrooms, onions and olives. As noted in my classic recipe, if you want cupped pepperoni with browned edges, hand cut the pepperoni and place it on the very top for baking.
Bake at 450F degrees for approximately 20-25 minutes, until your toppings are done.
When the pizza toppings are done, remove from the oven and let cool for 15 minutes on a rack or the cool grates of your cook top. Then slide the pizza out of the pan and onto a cutting surface by slipping a knife or fork under the crust on the short edge of the pan. It should easily slide out. Brush the edge of the dough lightly with olive oil.
Cut the pizza, ideally with a sharp pizza knife and not with a small pizza wheel.
Comments
Post a Comment